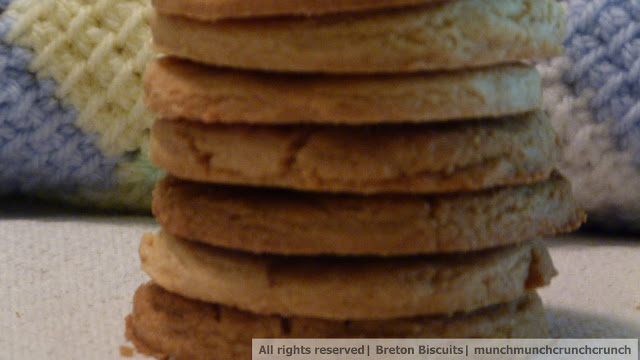
I wanted to bake it as soon as I saw it here. I always end up making biscuits/cookies more than cakes. This time I decided to make Breton biscuits, a french cookie. The recipe yielded around 2 dozen biscuits and my son loved it. What more do I need?
I did not want to wait, so I skipped chilling the dough in the refrigerator after rolling. May be that is why I don't have those smooth edges. Also I did not have a cookie cutter, so I just used the cap of my canola spray. That could be the reason for the rough edges too. I also skipped brushing it with egg wash. I was worried it would have a prominent egg smell if I did that. We don't eat eggs in our family and I use eggs only for baking and making pancakes. Infact, I usually go for eggless recipes because if I bake something with egg, me and my son end up with all the baked stuff. No one else eats them at home. Anyway, I think brushing with egg wash gives a nice texture to your biscuits and a nice browning effect. So if you are OK with it, do brush your biscuits with the egg wash as the recipe suggests.
Breton Biscuits Adapted from Martha Stewarts baking handbook via Gastronometart.
I have the original recipe below for my future reference and also to make it easy for my readers.
Ingredients
1.5 cups AP flour, plus more for dusting
1 cup cake flour (not self-rising)
1.5 teaspoons baking powder
1/2 teaspoon salt
1 large whole egg, plus 4 large egg yolks
1 cup sugar
2 sticks (1 cup) unsalted butter, room temperature
Method
1. Sift both flours, baking powder, and salt into large bowl; set aside.
2. In a bowl of an electric mixer fitted with the paddle attachment; beat the egg yolks and sugar on medium-high speed until doubled in volume and pale yellow, 2 to 3 minutes, scraping down the sides of the bowl as needed. Add the butter in four parts, beating until completely combined after each, 1 to 2 minutes total. With the mixer on low speed, add flour mixture, beating until combined.
3. Turn out the dough onto a lightly floured surface. Divide in half and flatten into disks; wrap each in plastic. Refrigerate at least 30 minutes up to one day.
4. Preheat the oven to 325 degrees, with racks in the upper and lower thirds. Line two large bakings sheets with parchment paper; set aside. Generously dust a large piece of parchment paper with flour. Place one disk of dough in the center, and roll out to slightly thicker than 1/4 inch. To prevent sticking while rolling, occasionally run a large offset spatula under dough, and add more flour to the top or bottom. Transfer parchment and dough to a baking sheet; chill until firm, about 15 minutes. Repeat with remaining disk; (You can stack sheets of dough in the freezer)
5. Remove one sheet of dough and parchment from the freezer, and transfer to a clean work surface. using a 2.5 inch round cookie cutter, cut out rounds and place about 1.5 inches apart on prepared baking sheets. Gather the scraps; roll out again and cut out more rounds. In a small bowl, whisk together the whole egg and 1 tablespoon water; brush over tops of rounds. Let stand 5 minutes and brush again. Using a paring knife, score each round in a shallow lattice pattern, making sure not to cut all the way through the dough. Repeat with remaining dough.
6. Bake, rotating halfway through, until cookies are amber on top and deeply golden around the edges 18-22 minutes. Transfer parchment and cookies to a wire rack to cool completely. Cookies can be kept in an airtight container at room temperature for up to 4 days.
The cookies tasted awesome. Do give it a try and get some brownie points from your kids:)


Nice !! Following u now :0
ReplyDeleteNupur